Category: Tutorials

Official Guide to Hunting for Needles

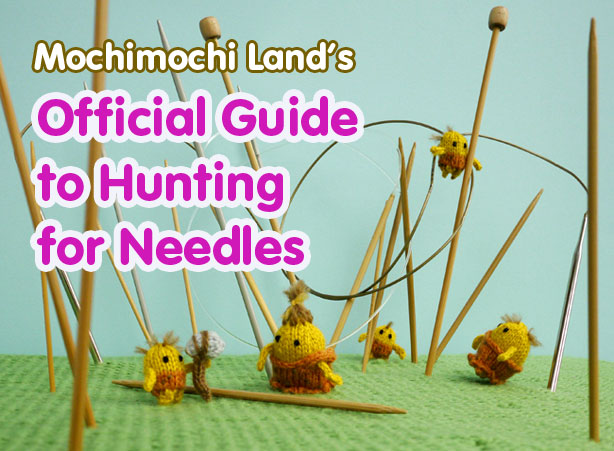
Circular or double-pointed? Metal or wood? How big and how long? Choosing the right knitting needles for your project can be tricky, especially when it comes to knitted toys. So I’ve put together this little guide to break down the choices for you and share my own preferences.

needleguide1

Skip a size (or 3)

The number-one needle rule when knitting toys: choose a needle that is 2-3 sizes smaller than what is normally recommended for the type of yarn you are using. This is so that you will have a tighter than usual gauge, which will prevent the stuffing inside your toy from showing through between the stitches. (Nobody wants unsightly stuffing to show!)

Most yarn comes with a recommended needle size on the wrapper when you buy it. (The Craft Yarn Council also has a chart showing recommended needle size by yarn weight.) Whether you’ll have better results if you go down 2 sizes or 3 depends on your personal knitting style—some people naturally knit more tightly than others.

needleguide2

The good news is that, unless you’re knitting a toy that has a wearable aspect to it, or you have some other reason for wanting a toy to be a particular size, you don’t need to check gauge, and you can use pretty much any type of yarn—with the appropriate-sized needles, it’s going to be adorable!

Now that you’ve figured out what size of needles to use, let’s talk about what type to use.

Double-Pointed Needles (DPNs) do the small stuff

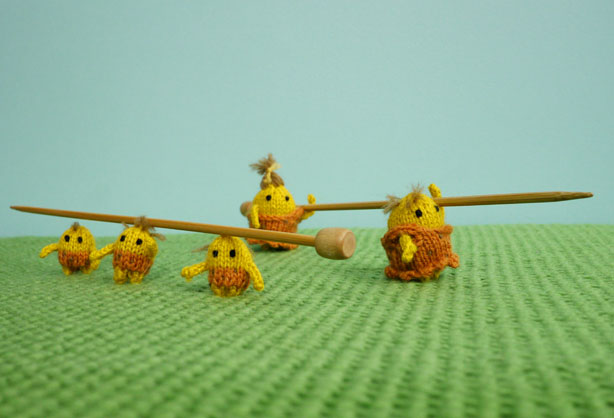
I knit the vast majority of my toys on double-pointed needles, which look like what they sound like: needles with points on either end.

Double-pointed needles (DPNs, for short) have a lot of versatility, but they’re best for knitting pieces with small circumferences—anything from tiny tubes to tube socks. The most common way to use DPNs is to have 3 of them holding your stitches in a triangular configuration, and to use a fourth needle to knit with. (It looks way more complicated than it is—check out my DPN tutorial if you’re new to them.) DPNs are also essential for knitting I-cords, a technique that I use frequently in my designs, and you can also use them for knitting small flat pieces.

needleguide3

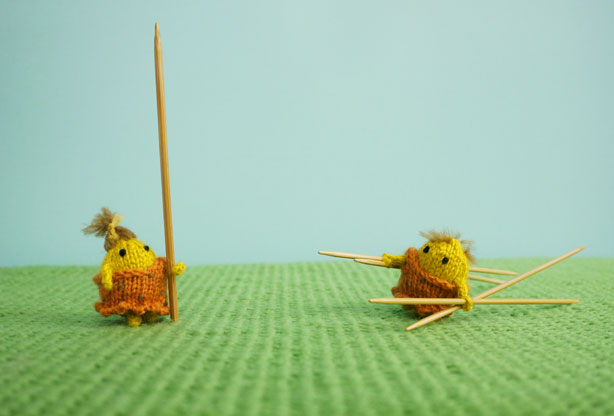
The number-one mistake that people make when using DPNs for the first time: choosing DPNs that are too long and too heavy. The length of DPNs you should use depends on how the size of a project you’re working on, but as a general rule, you should use shorter, lightweight DPNs. Especially when knitting tiny toys, your DPNs should be no longer than 5″ (12.5cm). The longer (and heavier) the needles, the more likely that they will accidentally flip around (twisting your stitches in the process) and get tangled with your yarn.

As for what the needles should be made of, my own preference is for bamboo or wood. I like the weight and flexibility of those materials, and their smooth-but-not-slippery quality makes knitting easy and makes it less likely that your stitches will slip off the needles by accident.

Basically, you can knit all but my very biggest designs using just DPNs. But there are reasons why you may often want to use a circular needle instead.

Circular Needles wrangle your stitches

A circular needle is like two double-pointed needles that are connected together by a long cable, which is usually made of plastic. Because you can fit lots of stitches onto that cable, a circular needle is ideal for knitting pieces with larger circumferences, like the toys in my upcoming book Huge & Huggable Mochimochi. The configuration of the stitches on a circular needle is simple: you knit from one end of the needle to the other in a continuous spiral.

needleguide4

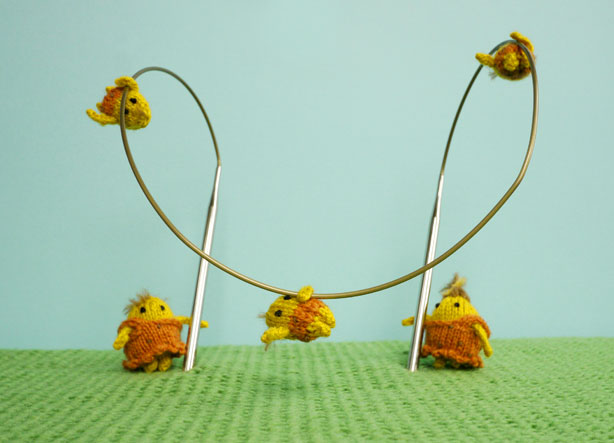
A circular needle can also be used for almost all projects that you would normally use DPNs with. The magic loop technique allows you to knit smaller pieces without DPNs, which is a good option for portable knitting and for people who simply don’t like using DPNs. And one final use for a circular needle: knitting any big, flat pieces. (Many knitters prefer using a circular needle to the traditional pair of straight needles.) Basically the only thing that a circular needle can’t do well is I-cord.

Choosing the right length of circular needle can be tricky, but keep in mind that if you know magic loop, you’ll never have the problem of too long a needle. A very long needle can be cumbersome, though, so I wouldn’t usually recommend the longest sizes available, nor the shortest. A needle that is 24″-40″ (70cm-101cm) will work for most projects.

I have less of a preference when it comes to the materials of my circular needles: I use both metal and wood, and both have served me well. There are also interchangeable sets available if you use them frequently. (Myself, I just have a tangle of different sizes crammed into a drawer.)

Straight Needles shine with intarsia

The conventional pair of knitting needles is something that you’ll rarely see in my hands. They’re probably still the best tool for beginners learning to knit, and I like to use them when I’m knitting medium-sized pieces that incorporate intarsia color knitting. This is because with intarsia knitting it’s important that your stitches are evenly spaced along the needle. But you can also use a circular needle whenever straight needles are called for, so I suggest skipping the straight needles unless you’ve already got them.

needleguide5

I think I’ve covered all the major needle know-how, as it applies to knitting mochis. Please leave a comment if you have a question that I didn’t cover, or if you have some advice of your own that you’d like to pass along!

Mattress Stitch Tutorial (for toys)

For a lot of knitters, seaming finished pieces together is their least favorite part of of a project—it’s time-consuming and can turn out so ugly. But for those who have joined the cult of mattress stitch, the technique of sewing pieces together on the right side for a virtually invisible seam, finishing is a relatively effortless and almost magical process. Mattress stitch is also a very handy skill for making great looking knitted toys.

There are several good mattress stitch tutorials on the web, but since there are some specific issues with seaming toys that aren’t found so much in garment knitting, I thought it might be helpful to do a toy-specific tutorial on the techniques. In this post, I’ll cover the basic “flat” seaming: vertical, horizontal, and vertical-to-horizontal mattress stitch. Then I’ll demonstrate how to use mattress stitch to sew on a 3-dimensional limb, such as an arm, and also how to sew on a limb at an angle. (I’m not going to do any techniques for garter stitch, since I rarely use it in my toys.)

Vertical Mattress Stitch

Vertical mattress stitch is used to join the edges of two pieces together when the knitting is running the same direction on both pieces . Among Mochimochi Land patterns, Grass, Evolving Punk, andLuvgun call for this basic stitch.

Start by placing your two pieces side by side with the right sides up. For toys, you will actually often start by holding the pieces together with wrong sides facing each other, but the technique is exactly the same, and easier to demonstrate when laid flat.

Insert your tapestry needle under the horizontal bar between the first two stitches on the edge you want to join.

verticalmattress1

Pull the yarn through and slip the needle through the opposite horizontal bar on the other piece.

verticalmattress2

Continue to go back and forth under the horizontal bars along the seam.

verticalmattress3

Now for the magic: pull on the yarn to tighten up your stitches…

verticalmattress4

And they disappear entirely! No matter now how many times I see that, I still ooh and ahh at the trick.

So that’s the basic mattress stitch, and it’s beautiful. But what if you need to seam around all of the edges of the pieces, as with many toys? When you get to the top of the knitting, you can simply turn the corner and seam the top of the knitting together with horizontal mattress stitch.

Horizontal Mattress Stitch

This stitch is used when you are seaming together the cast-on or bound-off edges of two pieces of knitting. If you’ve just finished vertically seaming up one side of the knitting, just turn the corner and continue with horizontal mattress stitch. (It will look pretty strange at first, but when you tighten up your yarn, the seam will disappear.) Horizontal mattress stitch is also used when sewing up the holes between the feet or ears of animals, as in the Mochimochi Reindeer.

For clarity, I’m again demonstrating this technique with the knitted pieces side by side, though with a toy you would normally be holding the pieces together with the wrong sides facing each other.

Insert your needle under the point of the V of the first stitch. Pull the yarn through, and do the same with the opposite stitch.

horizonmattress1

Continue back and forth across the edges, tightening up your yarn a bit after the first few stitches.

horizonmattress2

Here’s a photo of our square seamed together all around the sides, using vertical and horizontal mattress stitch. Since you’re sewing on the outside of the knitting, you can stuff as you go before closing off. (On a side note, if you’re using safety eyes, remember to attach them before closing off.)

horizonmattress3

Vertical-to-Horizontal Mattress Stitch

Sometimes, you need to seam together two pieces with the knitting running perpendicularly. This occurs in the pattern for Tubby, for example.

The technique, as you might expect, is basically a combination of vertical and horizontal mattress stitch. Insert your needle under the horizontal bar of one piece, then under the opposite V of the stitch in the other piece.

perpmattress1

However, since rows of knitting are slightly more compact than horizontal stitches, they usually won’t match up with a perfect 1:1 ratio, and you will need to make some adjustments as you go along the seam. This is best done by occasionally inserting your needle under two horizontal bars at once.

perpmattress2

There isn’t an exact formula for how often you will need to insert your needle under two bars instead of one to make the two pieces match up; you will need to eye it for yourself as you go along. This can seem a bit tricky, but the good news is that the seam will again be virtually invisible once you’re finished, and you shouldn’t be able to tell where you made the adjustments.

Sewing on a Limb (perpendicularly)

Above, we have seen how mattress stitch can make beautiful seams when joining flat pieces together. It’s even more of a lifesaver when attaching limbs (arms legs, ears, etc.) to a toy. Again, it’s almost invisible, and it also makes it easy to sew on limbs at any angle.

Let’s attach an arm to our square, which we’ll now call the toy body. First, decide where on the body you want to place the arm.

limbmattress1

You’ll see that some of the stitches on the arm line up with the horizontal stitches on the square. That’s where I like to start seaming, using horizontal mattress stitch.

limbmattress2

Soon, the stitches stop lining up, and you have to turn a corner, so to speak. Insert your needle under one side of a stitch on the body, and up through the middle of the stitch immediately below it (or immediately above it, as the case may be.)

limbmattress3

The next few stitches will line up vertical-to-horizontal, so continue with vertical-to-horizontal mattress stitch.

limbmattress4

You’ll then turn the corner again, and switch back to horizontal mattress stitch. Continue to seam around the circumference of the arm until you arrive at where you started. You will end up with an arm that is sticking straight out.

limbmattress5

Sewing on a Limb (at an angle)

Not all knitted toys want to hold their arms straight out. Some want to have them down at their sides, or reaching upward, or out in front of them.

Since we’ve attached one of our toy’s arms out straight, let’s angle the other arm down at its side. First, sew along the side of the arm opposite from the side to be folded down or up—in our case, the top of the arm, since the bottom will be folded down. Use horizontal mattress stitch along the top of the arm, then turn the corner with a diagonal stitch, just as you would with a straight-out arm.

Now we’re on the front side of the arm. For the next stitch on the body, insert your needle under two stitches. Then, instead of inserting your needle under the bottommost stitch on the arm, insert it under the next stitch up.

limbmattress6

Repeat this along the side of the arm, until you get to the part of the arm that should be flat against the body. (Since our arm is relatively small, we’ll repeat only once more.)

Now you’ve reached the bottom of the arm, or the armpit. Use horizontal mattress stitch to continue along the bottom, but for the stitches on the arm, now insert the needle under the third or fourth V-stitch from the base of the arm.

limbmattress7

This will pull the arm downward.

limbmattress8

Once you’ve finished with the armpit, continue up the back side of the arm, in the same way that you did with the front side: insert your needle through two stitches on the body, and through the second-from-bottom stitch on the arm.

When you come back around to the top of the arm, you will end up with a nicely downward-pointed limb. And a new friend!

mattressman

I hope this tutorial comes in handy to some people. I would greatly appreciate any feedback, and I’m happy to answer any questions in the comments.