
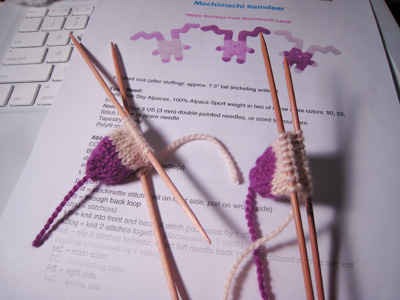
I just got an email from someone who wanted some clarification on how to join the feet in the Mochimochi Reindeer pattern. It’s a very simple method, but not so simple to explain in words. Since I also use the same basic method for the Ninjabun and the Woodins patterns, it occurred to me that others might like a quick visual guide. Here goes!
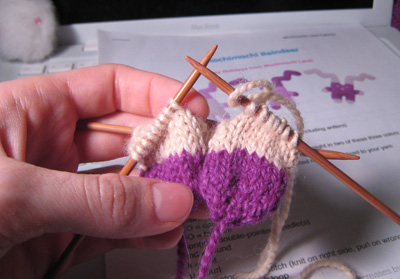
I’m starting at the point at which you have two finished feet, and you’re ready to join them together. I find it easiest to first divide the stitches of each foot onto two needles.
Next, work across the first half of stitches in the foot that has the yarn attached to it. Once you’ve worked these stitches, cast on additional stitches, if the pattern calls for any, using backward loop method.
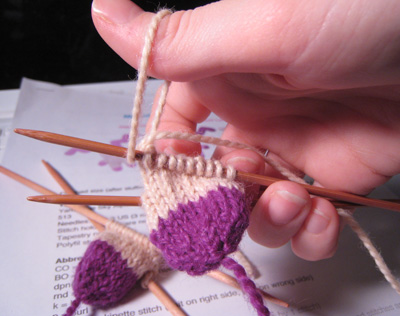
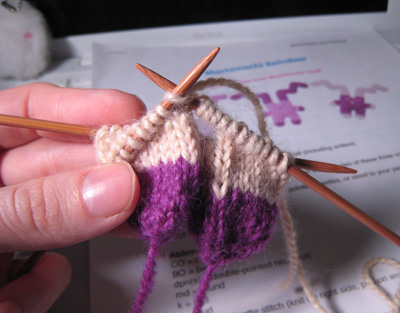
Now pick up the other foot, and begin knitting across it, starting with what would be the first stitch in the round if the yarn were still attached to that foot.
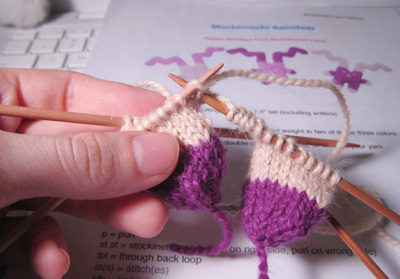
Below is a top view, showing the working strand of yarn on the right and the cut yarn (held up) attached to the last stitch on the foot.
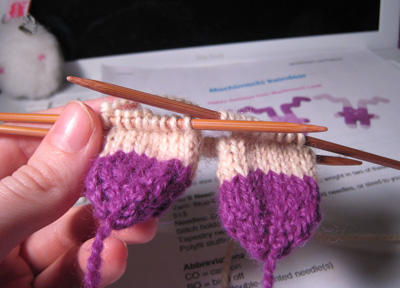
Continue to knit all the way around the foot, ending with the stitch with the cut yarn. You can twist the cut yarn around your working yarn or weave it into the stitches later.
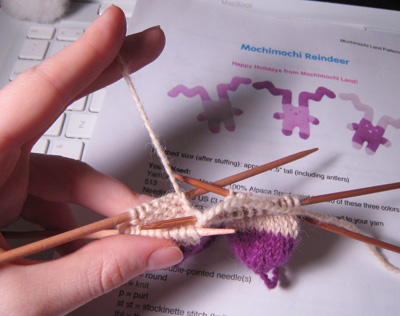
Now you’re on the “back” side of the feet. Cast on additional stitches, if required, in the same way as on the front side.
Finally, continue to work across the remaining stitches—the second half of the stitches from the foot you started with.
You’re now ready to continue working the stitches in one big round. You will end up with a gap between the feet, which you can stitch up at the finishing stage of the toy.
I hope this mini-tutorial is helpful to some people. I just wrote this up quickly, so if you have any questions, please leave them in the comments!
