Before I jump into my progress on the Untitled Arcade Mochi Project, I thought I’d share some of the images I’ve been obsessed with over the past few weeks.
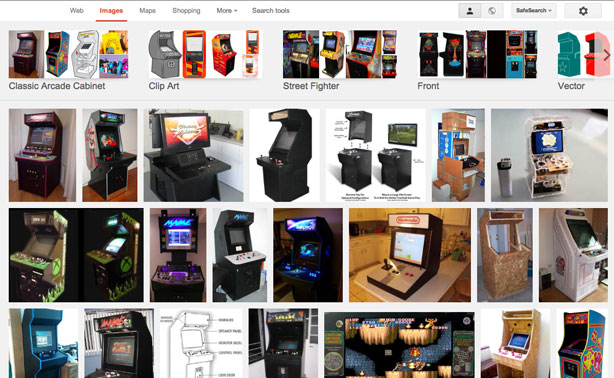
Whenever I’m working on a any project that’s based on a real thing in the world, I like to do an image search after making my initial sketches. It’s important to me not to model a design on any particular image, but seeing a lot of whatever it is I’m making (whether it’s arcade cabinets, armadillos, or meatloaf) all together gives me a quick reference for general shapes and proportions.
So to refresh, I started with a sketch and some vague ideas about what direction I wanted to take my arcade toy in, and then after sketching and a little color design, I began the knitting part of the process with the screen. Then I did a little more sketching based on my screen, along with a little math to get to a starting point with the rest of the toy.
What followed were many hours of knitting something that doesn’t look like much of anything, just to figure out the shaping and exact stitch/row counts.
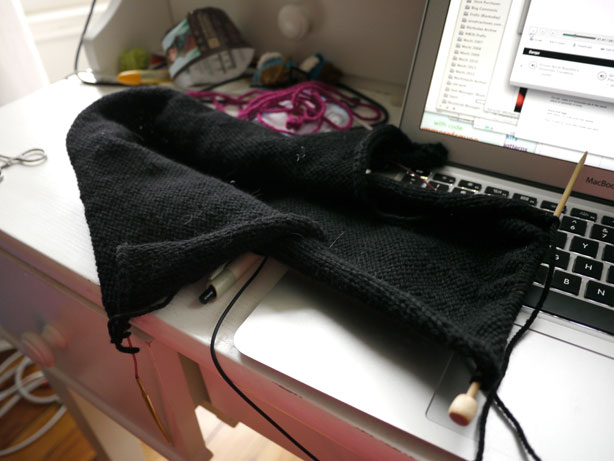
So much black!
I started by making a base that’s as wide as the screen, then after picking up stitches around the flat piece, I continued knitting the sides and back as one piece and the front as another. I could have knitted them in the round up until the control panel shelf, but I have it in mind to add intarsia colorwork in several places later, which will require flat knitting.
I had some general row counts jotted down in my notebook, and I’m altering those a bit as I go and see how the shape is coming out. If knitting were as structured as something like cardboard, then getting the shape right would really just be a matter of checking gauge and doing a little math. But since knitted fabrics are stretchy and squishy, some tweaking of the design is usually required along the way.
This morning I finished knitting the back and sides, all the way up to where the top of the screen would reach. And separately I finished knitting the front, which right now is just one long flat piece. It didn’t look like much of anything until I stitched it together and stuffed it full of stuffing…
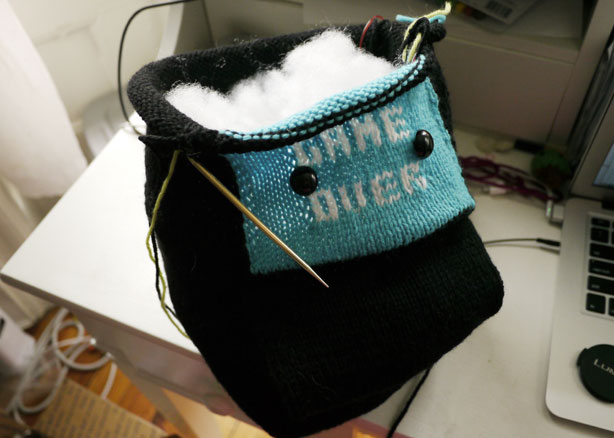
… and then gave the thing a lot of poking and massaging…
(This is the moment of truth, when I’m playing the “Is this anything?” game with myself.)
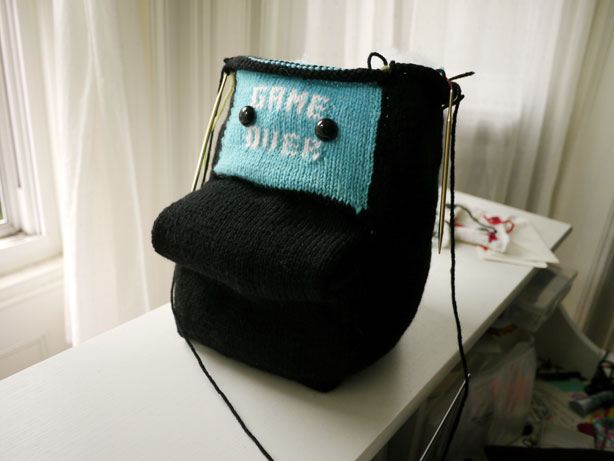
…. and yes, it’s starting to look a bit like an arcade game! But you can’t really tell, can you, because it’s all black and really hard to see on a screen.
It occurs to me that I could have used a different color yarn for this trial run, which may have let me (and you) see everything better, but I was just too excited to jump into this project and I couldn’t get black out of my head. Well, here’s the side view at least, so you can see that there is indeed some definition to the shape.
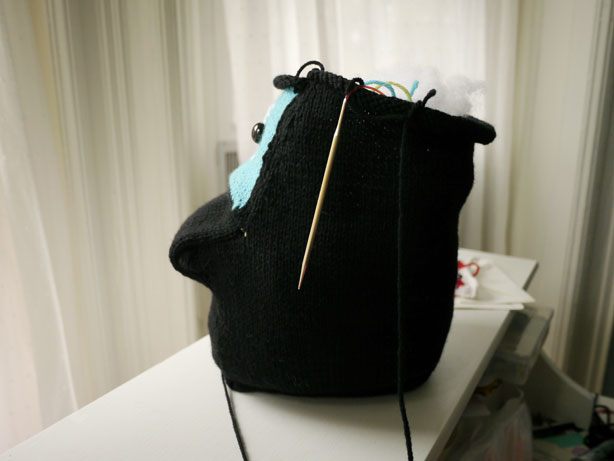
I’m happy with the progress so far. I have a few possible changes in mind—maybe the screen should be bigger?—but nothing major that requires a big change. So now I need to stop and think about colorwork. I’d like to integrate coin slots on the front and stripes on the back and sides, plus maybe some color on the control panel. Having the basic, physical shape right in front of me is a great way to figure out exactly where I want all of these designs to go, which I’ll sketch out using a color-filled grid in Illustrator.
I can’t tell if I’m being overly vague or overly detailed in recording my design process, but putting it all down in blog posts certainly makes me more conscious of how I go about working on a design. That seems like a good thing to do every once in a while. I’ll have an update all about colorwork designing soon!

So neat to take a look into your design process!
Hey Anna, you should definitely try to sell patterns or kits for this at Berlin’s Computer Spielemuseum, a computer game museum on my street. They have a little gift-shop and are visited by thousands of video game fans eager to play their many old arcade games.
It looks awesome
Wow. I still want to make a shoe but I have no idea when I’m going to start.