
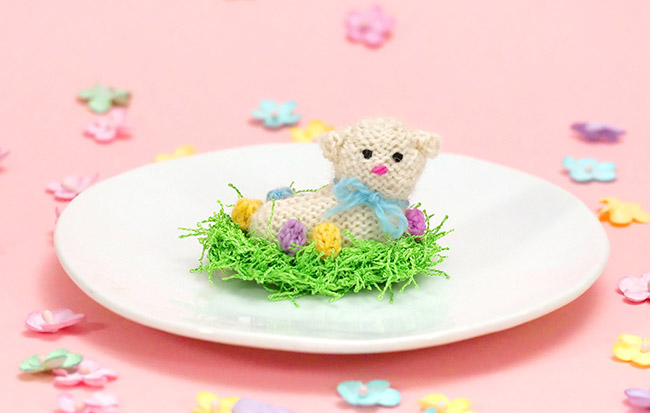
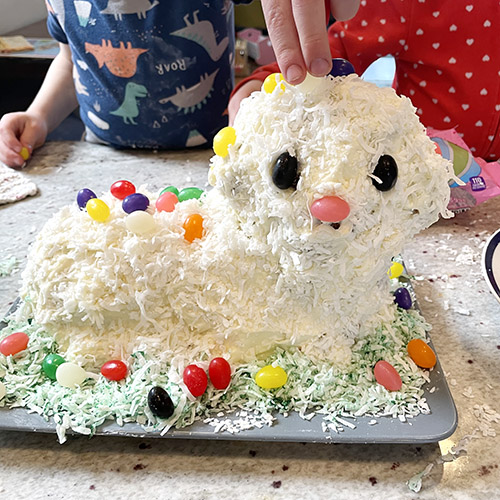
The newest pattern in Mochimochi Land is instant Easter kitsch: a teeny-weeny lamb cake!
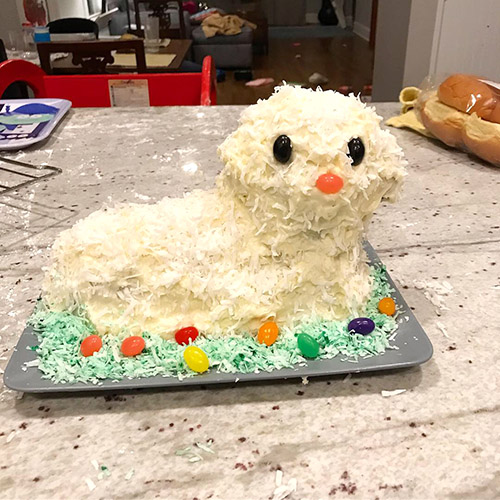
Inspired by all the weird lamb-shaped cakes I’ve eaten and baked in springtimes past…
…Lambie is a quicker-than-it-looks project that requires very little purling (you turn the piece inside out right before finishing) and no seaming to speak of (a 3-needle bind-off takes care of that straight back).

👉 The pattern is now available as a PDF download here on my website and on Ravelry.
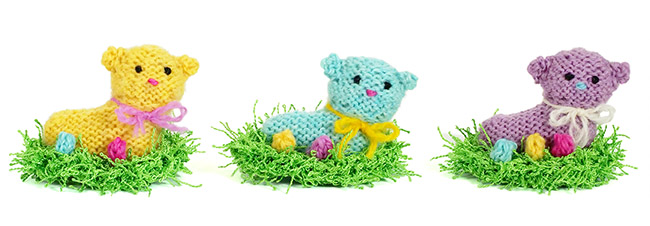
Use any basic yarn along with a small helping of eyelash yarn for the coconut grass. Samples are knit in Knit Picks Palette and Red Heart Scrubby, using double-pointed needles in sizes 1 (2.25mm) and 5 (3.75mm).

Lambie is small enough to fit inside an Easter egg, traditional enough to be a bitty centerpiece at your holiday table, and cute enough to embellish your Easter hat! I’m hoping to see a bunch of adorable Lambie photos on the internet soon (especially if you put it on a hat!)
My thanks to Marilyn Passmore for her tech editing, and to Bonney Teti and Kristine Brandel for their quick-turnaround testing!
If you’ve ever attempted to bake one of these in its full-size glory, you know that even when things go well, there’s always something a bit wonky about them. (Mine usually ends up with a chopstick jabbed into his head for extra support.) That’s what I love about lamb cakes and knitting toys in general—each is unique and lovable in its own weird way.
I hope you love this project as much as I do!
I have purchased and downloaded the pattern. This isn’t my first Mochi so I feel fairly competent at them, but I have a question about the beginning directions to pick up third DPN to work stitches in the round. I simply can’t figure out what this means and how to do this given the 12 sts that are alternating on two DPNs. Is this where to direct this question?
Chris H
Hi Chris! Thank you so much for the question. If you’re familiar with the magic loop technique of knitting, it’s similar to that—your stitches are on parallel needles, and you work them in a round starting with the needle in front, then turn both needles together and continue on to the needle in back to work the second half of the round.
Here’s a basic video on magic loop…
https://youtu.be/1mqIqRdJc68
…what’s shown at around 1:45 is what your needles look like. If you can disregard the part about sliding the stitches onto and off of the cable, it’s basically the same thing.
I hope that helps—please let me know if you need further clarification. This is a technique I’ve been using more and more lately, so your comment is a reminder that I should make a standalone tutorial about it!