
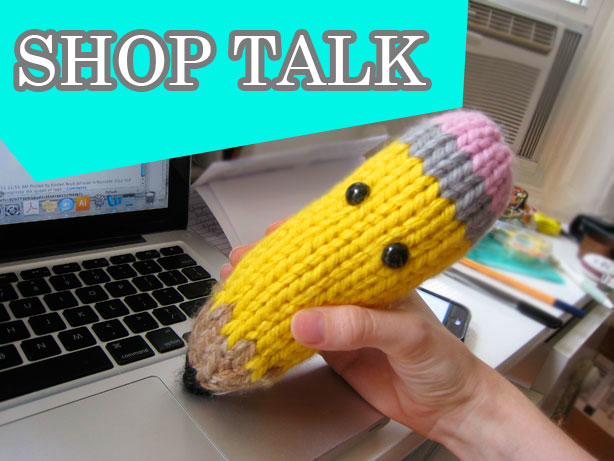
Thank you for all the comments to last Friday’s inaugural Shop Talk post! Sometimes the thing that stops me from talking about how I run my design business is the idea that I ought to have actual wisdom to impart, but I also understand that it’s helpful just to hear about someone’s personal experience, even if they’re not so wise.
Since last week I wrote about how I got started, I thought I’d take this week to go into more detail about what exactly it is that I started. I bet many of you are familiar with the basics of how independent knitwear designers (or notwear designers, in my case) make a living: we knit up something lovely, we write up the instructions on how to make it, and then we sit back and watch the money pour in as thousands of knitters buy the PDF pattern as a download. Right? Well, not entirely wrong, but it’s not so simple either.
For the curious, here’s a step-by-step breakdown of what goes into my pattern making process.
1. THE IDEA
I have an idea for a toy. If it’s something that I’m excited about knitting and something that I think other people might want to knit too, I get started on the design. (Occasionally I also do a search on Ravelry to make sure there isn’t something too similar already out there.)
2. THE DESIGN
Design time! The time involved in the design process can vary wildly, from hours to weeks, depending on size, complexity, whether I have to start over a few times… a while back I wrote a more detailed description about what goes into designing a toy.
3. THE PATTERN WRITING
Once I have a finished toy that I’m happy with, I start writing up a proper pattern using the notes that I took as I was making the toy. Like the design process itself, this can take hours or days, depending on the complexity. (I do refer back to my older patterns for wording, but I also strive to always be making my instructions as clear as possible, so I still find myself struggling with how to best describe techniques that I’ve been using for years.) As I type up the pattern, I make notes to myself about which parts should have a photo illustrating a particular step.
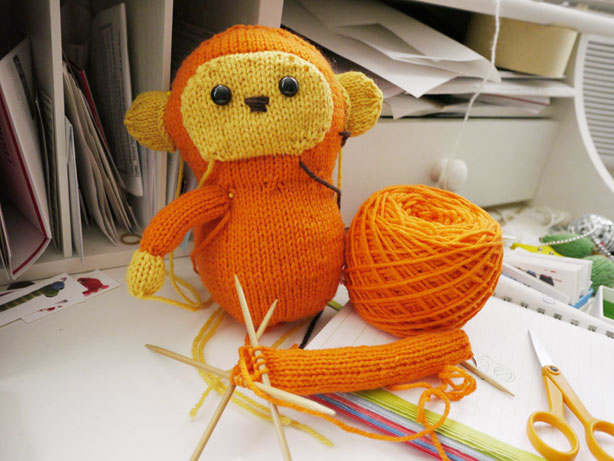
4. THE RE-KNITTING
Once I have the basic pattern written up, I also have a list of additional things I need to knit for the photos that will go in the pattern. Depending on how many steps need photos, I might be re-knitting parts of the project two or three times over to show different techniques. (I like to have all the materials ready for the photo shoot, instead of stopping along the way to knit and take actual process photos. Although sometimes I’ll go in reverse, shooting a later step, then ripping it back to an earlier step for the earlier photo.) I also often make an entirely new toy using different colors or some other variation. Because variety!
5. THE PHOTO SHOOT
Photo time! In addition to the step photos, I take white-background photos of the toy from multiple angles—it’s always better to take more photos than you think you’ll need rather than realize you need more and have to set everything up again. Speaking of setting up, here’s what my setup looks like, more or less.
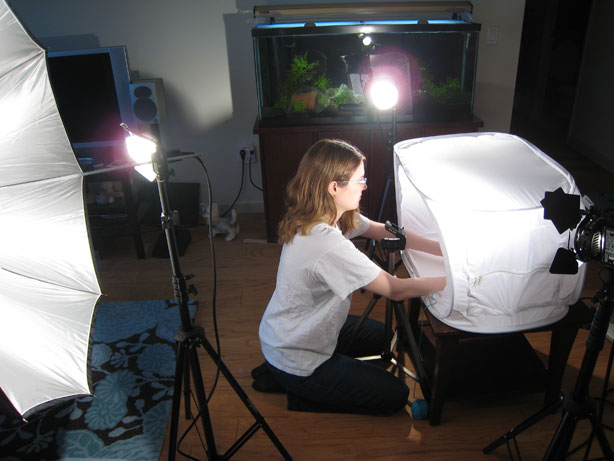
(If I look sweaty and disheveled in this photo, that’s because those lights are hot! And I’m usually just naturally disheveled.) I use a tripod and my camera’s timer to take photos that involve both of my hands, like this one.
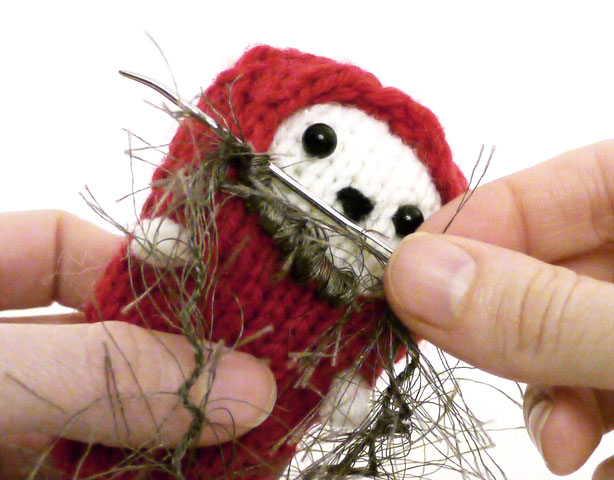
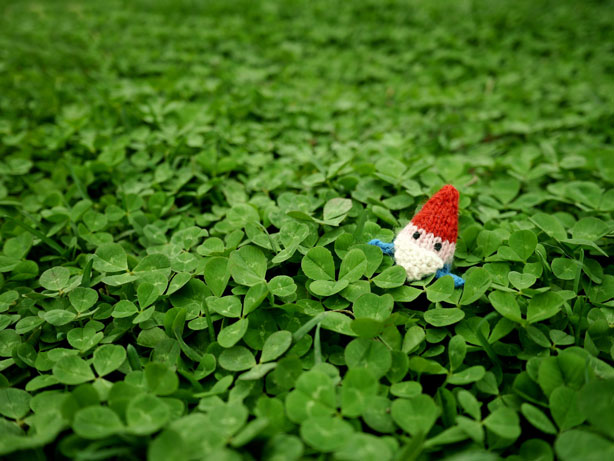
I also try to take other, more fun photos in natural environments. It’s interesting how some toys are so much easier to shoot out in the world than others!
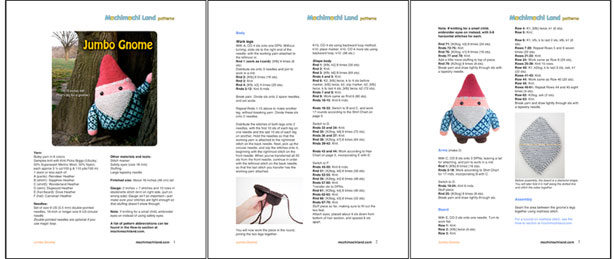
6. THE PHOTO EDITING & PATTERN FORMATTING
The photo fun continues as I use Photoshop to adjust what I’ve taken (including erasing the backgrounds) and insert the photos into the pattern. I also play around a little with page layouts at this point, trying to get to as close to a final pattern as I can. There are lots of different software options for this, but I’ve found Word, despite its shortcomings, to be easy to use and just fine for my patterns.
7. THE TESTING & EDITING
Now that I have a pattern, I send it out to my testers and my tech editor. This is a crucial step, because no matter how many times I closely read over a pattern, I can miss little errors. And instructions that seem natural to me may be baffling to someone else who isn’t living in my head.
8. THE FINAL EDIT
The feedback from testers and tech editor is in, and I make the final edits to the pattern. Final pattern achieved!
9. THE RELEASE PREP
Now it’s time to begin the process of releasing the pattern out into the world. I go back to all those photos I took in Step 5 and reformat some of them as images to use on my website (homepage, shop, and blog) and Ravelry ads (if I’m going to advertise).

I also write up descriptions to use on my blog and email newsletter.
10. THE RELEASE & PROMOTION
On release day, I start by uploading the pattern to E-Junkie, my download service, and I get the button code for my website. Once I’ve put the pattern up in my shop, I list it on Ravelry, then I start the announcements: newsletter is first, then blog, Facebook, Twitter, Pinterest, Flickr…. there are probably more that I should be using, but that’s enough for me!
11. THE RESPONSE
Now I wait and see what kind of response I get. There are usually a few questions from customers that come in when I first release a pattern. And the first week that I have a new pattern out, I’m often on Ravelry, checking to see if any projects have been listed. It’s always exciting to see the first one!
So that gives you an idea of what goes into releasing a pattern: a lot of time invested up front! Most of the time I seem to have two or three different patterns in development at once, each at a different stage. (Right now I’m at Step 2 and Step 6 with two projects.)
And of course, with all that, there’s no guarantee that a pattern will be successful—after doing this for seven years, I’ve gotten only slightly better at guessing what will be popular with knitters. Getting a pattern noticed is it’s own process that I’d love to go into more detail about in a future post.
But if any of you budding designers are wondering if it’s worth all the work, for me it’s worth it when I get to see this:
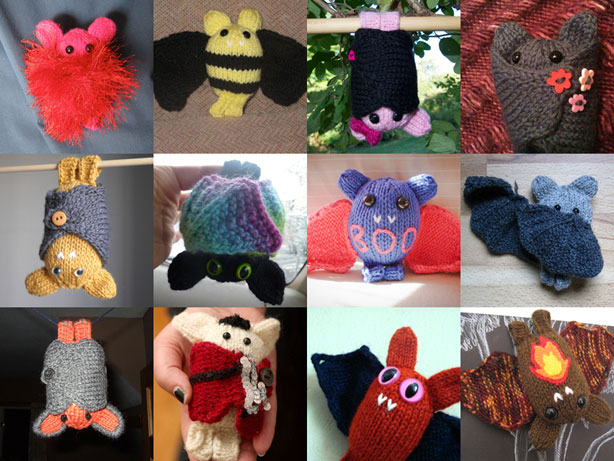
To date, there are 950 Boos listed on Ravelry, each one of them unique and awesome. Getting to see my idea realized in someone else’s hands is simply the best part of this job.
Previous posts in this series:
Thanks so much for information about pattern publishing, I’ve always wondered how to write up my own patterns.
And you don’t look disheveled at the various events I have seen you at! You look good.
Fascinating! I like the opportunity to peak in on your process.
Hiya! Thanks for posting this awesome series! I’m hoping to get a small business started next year (hoping), and I think I want to have an automated e-mail thing like what you have.
So I was wondering, Does it cost anything to post and sell the PDFs? And how much money does it cost to keep a website this popular up? Please, forgive my spelling. Again, thanks for posting this, I’m getting so much out of just the first two posts!
Thanks!
I’ve been browsing online greater than three hours these days, yet I by no means discovered any interesting article like yours. It is lovely price sufficient for me. Personally, if all site owners and bloggers made good content material as you did, the net will probably be a lot more useful than ever before.
As I sit down to write my first pattern a question pops into my head: How many testers do you usually have go over your patterns before you publish?
This is very interesting! Thank you for describing your process!