A HUGE thank-you to everyone who entered the Mochimochi Photo Contest!!! Your creativity astounds me, and I’ve found myself inspired over and over again by your beautiful, funny, and clever photos.
The contest was a great success, with 90 participants and more than 400 entries. But choosing finalists for the photo contest is wayyy harder than I thought! My husband and trusted Mochimochi Land partner John and I have been narrowing down our favorites, but we’re still not quite down to our top ten. So tomorrow and Wednesday we’ll present our 20 semifinalists and encourage you to campaign for your favorites in the comments. Then the list of finalists will come later in the week and voting will commence!
Today we’re presenting (in no particular order) our Honorable Mentions: photos that didn’t make our semifinalists list, but that we still think are awesome.
UPDATE 12/12/07: I’ve taken the images in this post down to save bandwidth, but you can still click on the links to see the photos!
Camouflage by muffychloe
This Sleepy Snake is trying to fool a mouse by disguising himself as an Uh-Oh. Too clever!
Action Safari Shot! by Sevous
A yellow bob tries to evade the menacing (and totally cute!) cat in multiple shots.
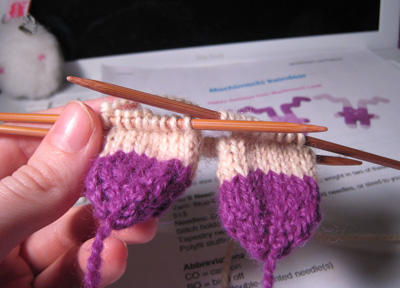
Albino grass tries something new by cspooks
An albino Grass sees what life as a tooth might be like. Love it!
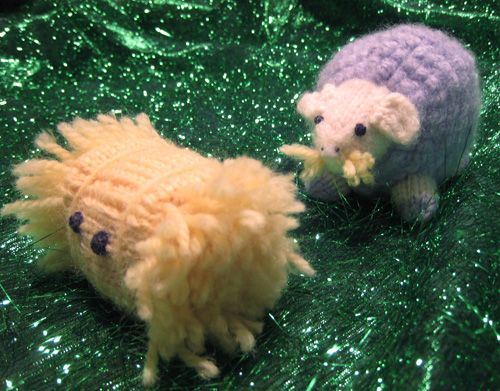
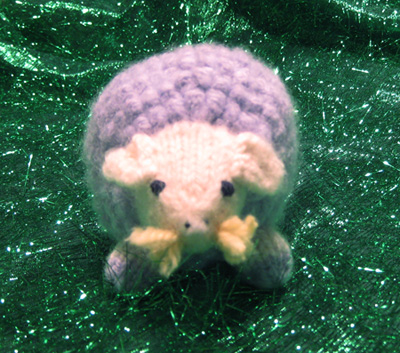
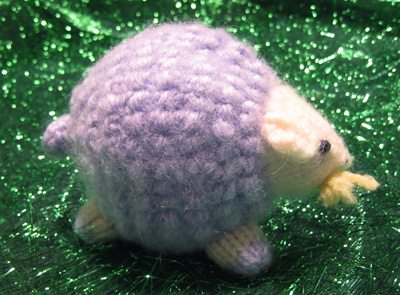
Bob and Grass Family by wrchill
This is the story of how Bob and Grass fell in love and had a bob/grass hybrid offspring. Wow!
Carrot Hiding in Berries by flowers.leaves
Ninjabun’s carrot looks so cute nestled in this bunch of berries.
Knits & Bobs by world ruined
A most artistic close-up of everyone’s favorite long-nosed friend.
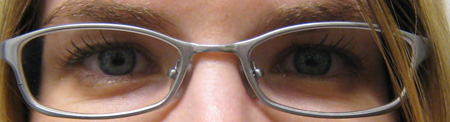
Grass Stain on the Wheel by kountingsheep
Not only is this photo totally funny, but it’s also a crocheted version of Grass!
Dog and pigs in blankets by Ouonqui
Tee hee hee!
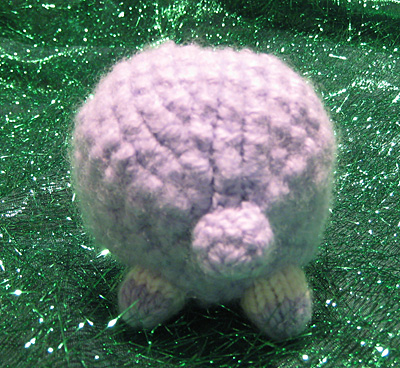
Bob-B-Q by rsislandcrafts
Bob and friends celebrated Thanksgiving this year with a Bob-B-Q! I love their expressive eyes and the pattern alterations.
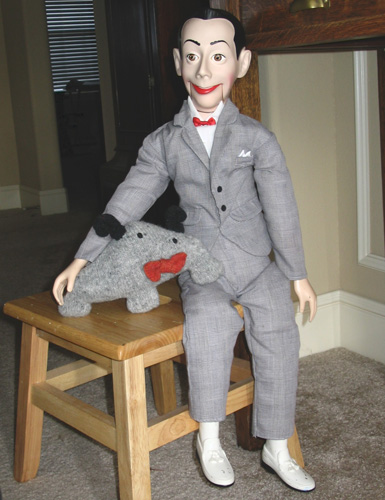
Bob & Alfie by lizzie j b
Mochimochi Land toys paired with pets are the cutest! This confrontation is especially funny.
Check back tomorrow for the first group of semifinalists!